Version 1.0.10 · Windows & macOS
Paint with body.
Sable Paint is a GPU-native painting application for Windows and macOS. Brushes carry a load of colour: they pick up what they pass through, drag it, and build height on the canvas. A stroke over existing paint moves it rather than covering it. Written in Rust and wgpu.

The toolbar
Eighteen tools on one rail.
Every tool sits on one strip down the left edge. Move, brush, eraser, fill, gradient, liquify, eyedropper, text, crop, pan and zoom are always visible. The selection slot holds seven selection tools behind one icon. The rest of the screen is canvas.
- SelectSquare, ellipse, lasso, polygon lasso, magic wand, brush select and smart select
- PaintBrush, eraser, fill and gradient
- ReworkMove, liquify, text and crop
- LookEyedropper, pan and zoom

The brush editor
Fourteen pages to a brush.
Every brush has fourteen pages: shape, dual tip, scatter, jitter, smoothing, blend, colour, height, curves, filaments, MPM, texture and masking. Size, flow, hardness, squeeze and fan spread each take their own pressure curve. The preview repaints as you adjust.
- CurvesSize, flow, opacity, colour, hardness, height, spacing, squeeze, fan spread, texture, texture bite and a master ALL — plus 16 custom
- FilamentsIndividual bristles that splay and recover
- HeightPaint stands off the canvas and catches light
- MPMMaterial-point simulation for the wettest brushes

The layers panel
Layers with height.
Every layer carries its own relief, so paint on a layer can blend into the stack beneath it, occlude it, or sit on top. Around that: 28 blend modes, 27 non-destructive adjustment layers with live preview, groups, masks and clipping, all composited on the GPU with thumbnails that update as you paint. Flattening can preserve height, so a flattened painting still responds to light.

- 28 blend modesThe 25 standard modes, Passthrough for groups, and two of Sable's own: Glaze and Spectral Glaze.
- 27 adjustment layersAll non-destructive: Curves, Levels, HSL, Gradient Map, Color Lookup, Film Grain, Halftone, Split Toning and more, each with a live-preview editor.
- Height-aware controlsHeight Blend merges a layer into the relief below. Occlude and Sit decide whether strokes cut into the surface or ride on it.
- GroupsIsolated group blending, group masks that apply to the whole folder, and clipping masks that chain.
- ReorderingMulti-select with Ctrl/Shift, drag selections together, and hover to open folders mid-drag.
- Live GPU thumbnailsLayer and mask previews refresh every frame from video memory.
- HousekeepingInline rename, colour labels, per-layer visibility hotkeys, merge down, stamp visible, and two flattens: one keeps height and re-lighting, one bakes the lighting in.
The Glaze layer
Light goes through the paint.
A Glaze layer is a transparent film of pigment that light passes through, down to the paint beneath and back. The same glaze reads bright over light passages and deep over dark ones, and stacked coats build the way real glazes do. Glaze also behaves like liquid on the surface: it pools in the furrows of thick brushwork and thins across the ridges. Spectral Glaze mixes colour across 38 wavelength bands, so a blue glaze over a yellow ground turns green.


- Optical model, in real timeLight makes a double pass through the glaze film, computed on the GPU in linear light as you paint.
- Backing-dependent colourOne glaze reads luminous over light grounds and deep and saturated over dark ones.
- Coats that buildStacked glazes deepen nonlinearly, like thin oils laid wet-on-dry.
- PoolingGlaze settles into the relief of impasto and sheds off the ridges. Viscosity, width and falloff tune it from watery to buttery.
- ScumbleAdd scattering and the glaze becomes a semi-opaque veil that can lay light over dark. A Fineness control sets how cool and smoky it reads.
- Wet, sunk-in, oiled outModel the life of an oil glaze, from fresh oiled darks to matte sunk-in patches, and restore them with Oil Out.
- Spectral Glaze38-band spectral compositing, so stacked glazes shift hue like pigment rather than greying.
- Four dialsStrength, Wet, Pool and Scumble sit in the layers panel, each with a fine-tune popup.
Stamp Forge
Procedural brush tips.
Pick a family — clean, media, grunge, botanical, mechanical, ornament, sigil, chaos, nature or fauna — then forge a batch, vary a tip, or cross two until one is worth keeping. It is all procedural code: no model, no training set. Lock the traits you like and vary the rest. Every tip has a short code, so a shape can be shared as a string.
- TraitsSources, transform, symmetry, carve, finish — lock any of them
- BatchTwelve candidates at a time; keep the ones you want
- CodeSBL-06023-N49VY-BBV71-5M9GG
- No AIDeterministic from the code, no models, no training data — the same string always forges the same tip

Stylize
Nine stylize modes.
ASCII, Truchet, dither, diffusion, solvent, wave scan, hatching, symmetry and graphic. ASCII alone offers character sets and ramps, structure matching, dot matrix, Braille 2×4, emoji mosaic and calligram, in colour, on black, white or transparent. Each mode can filter the height map as well, so the surface texture follows the effect.
- ModesASCII, Truchet, Dither, Diffusion, Solvent, Wave Scan, Hatching, Symmetry, Graphic
- PresetsSave your own and reload them
- HeightmapAlso filter heightmap — texture follows the effect


The HUD
Controls on the canvas.
Any brush slider, along with filters, flips and rotates, can be promoted to the HUD: a small floating panel in the workspace. Controls you reach for mid-stroke stay under the brush rather than in another panel. Each carries an ✕ to send it back.
- PromoteAny brush slider; filters, flips and rotates
- AdjustChange values where you paint, without opening the editor
- DemoteOne ✕ per control

Reference images
References beside the canvas.
Drop a photo onto the window and park it next to the painting. It follows the view as you pan and zoom, or pins in place; drag it, scale it, flip it, grey it, fade it. The eyedropper picks colour straight from it. Lock it and the brush paints right over it. Nothing goes into the document.
Theming
Colour, texture, layout, scale.
The interface is not a choice between light and dark. Recolour the chrome, panels, accent and workspace; put a texture behind the artboard, whether a grid, dots or a run of type; drag the panels where you want them; and scale the whole interface to fit your display.
- ColourChrome, panels, accent and workspace, each set on its own
- TexturePatterns behind the artboard, or nothing at all
- PositionMove, dock and close panels
- SizeScale the interface to your screen


Interface scale
The whole interface, at any size.
One slider scales every menu, panel, label and control at once. Lower it and the canvas gets the room; raise it and the controls grow. One slider for the whole interface.
Interface languages
Ten interface languages.
Every panel, label and shortcut name is translated, not only the menus. Choose a language in Preferences and the whole application follows.
- English
- Deutsch
- Español
- Français
- Italiano
- 日本語
- 한국어
- Português
- Русский
- 中文
Settings → Preferences → Language
Adjustments
Levels, curves, colour.
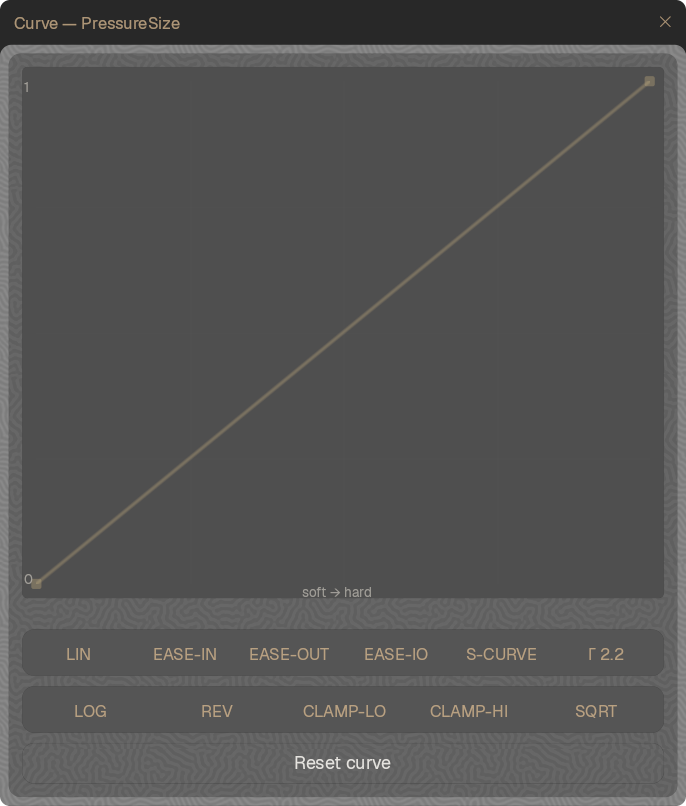
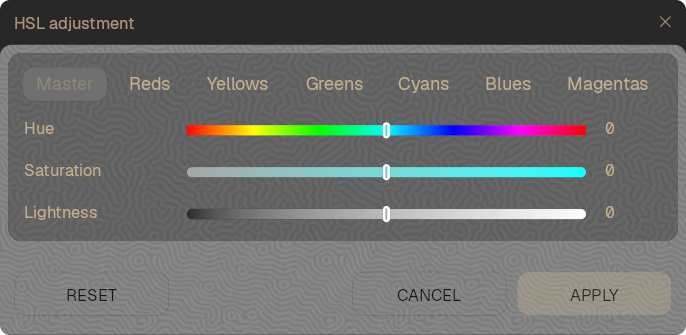
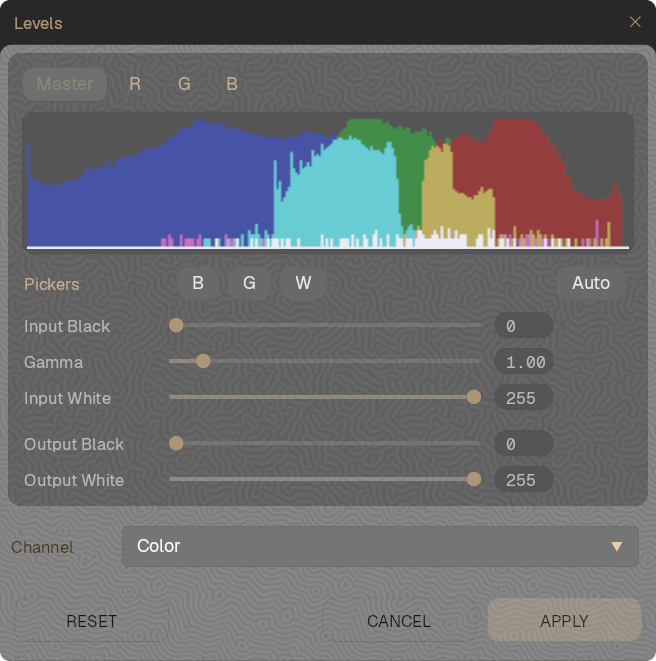
Three of the adjustment panels. Each works on the painting live, on the GPU: a histogram to set black and white points against, a curve you bend by hand, and hue, saturation and lightness per colour range. The full menu follows below.
The adjustments menu
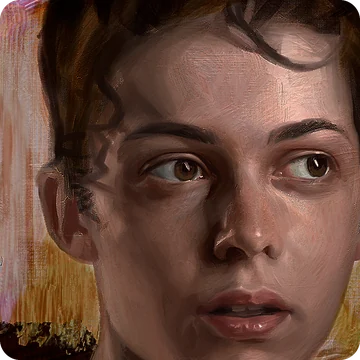
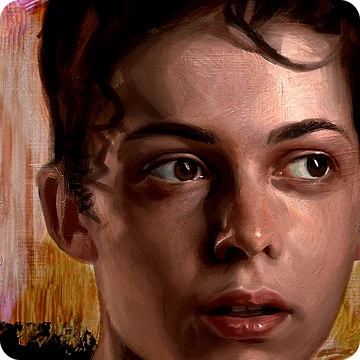
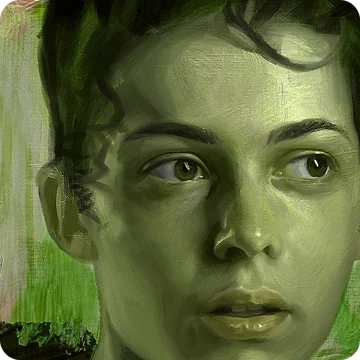
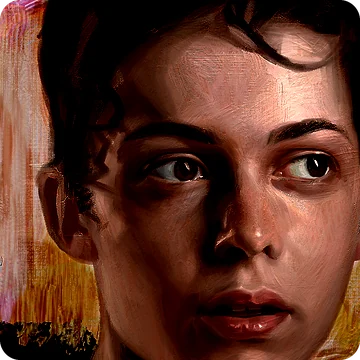
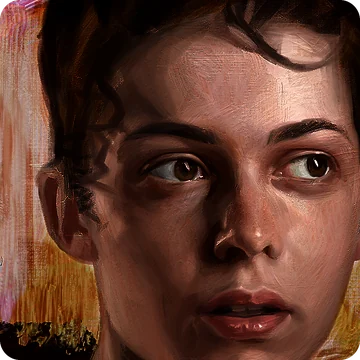
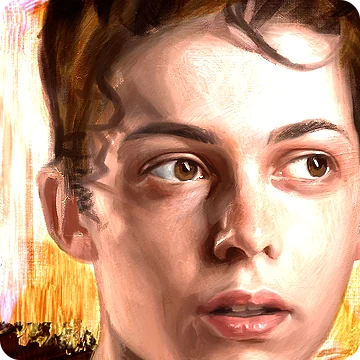
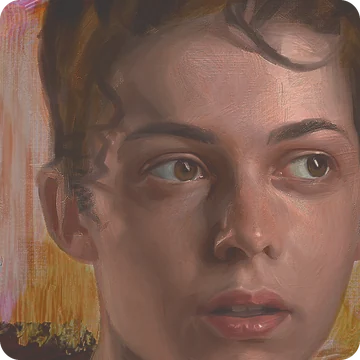
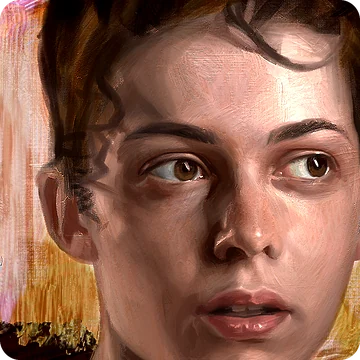
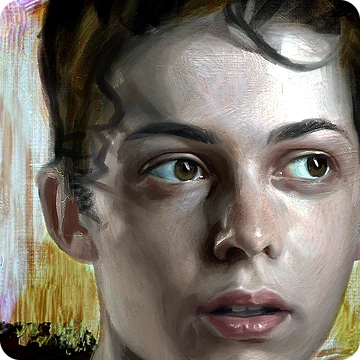
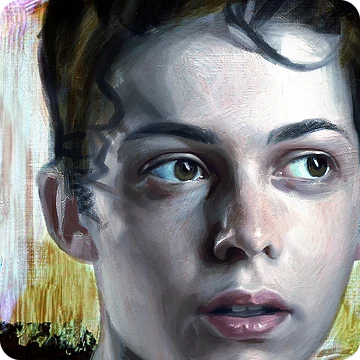
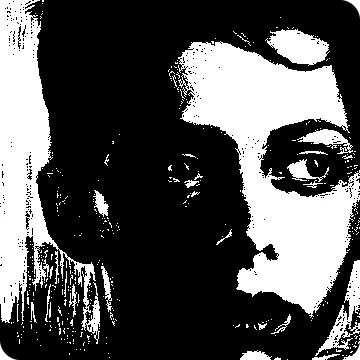
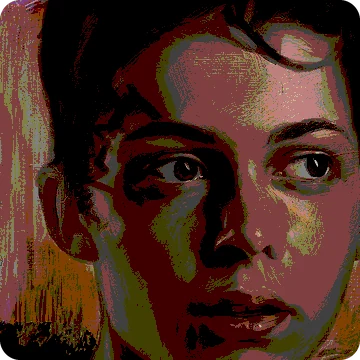
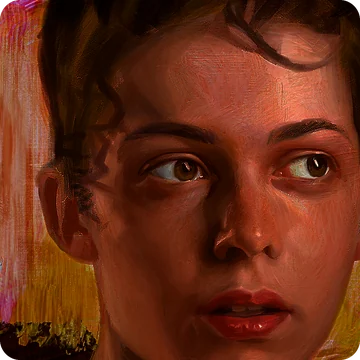
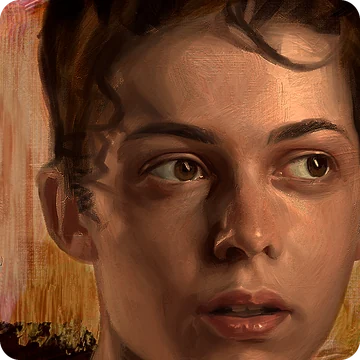
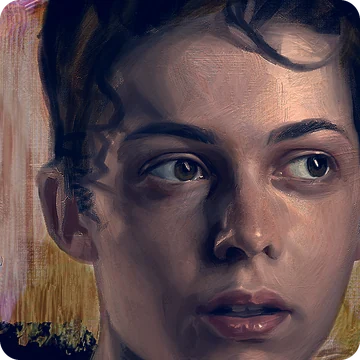
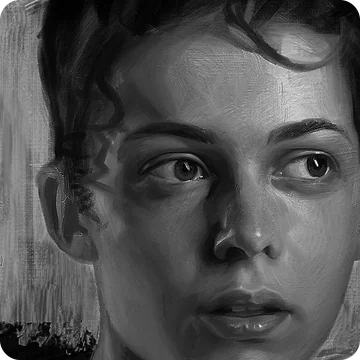
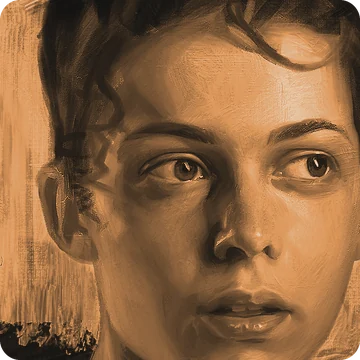
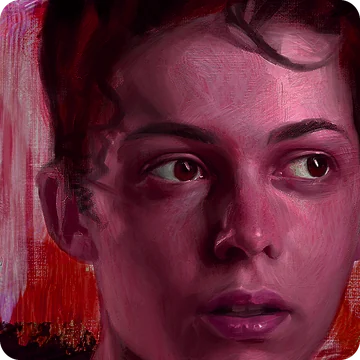
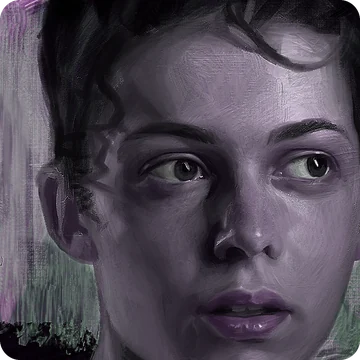
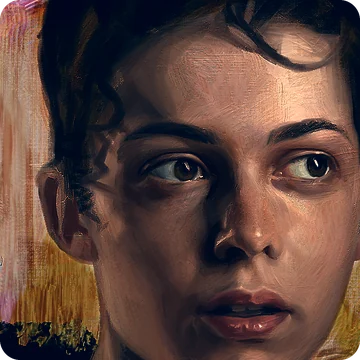
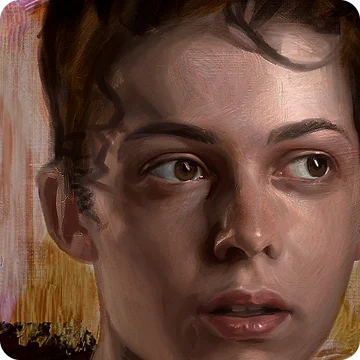
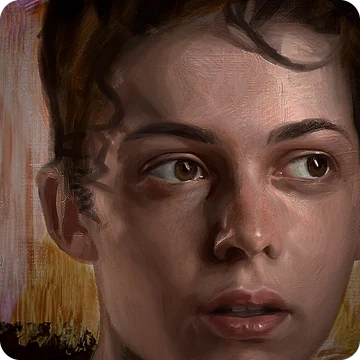
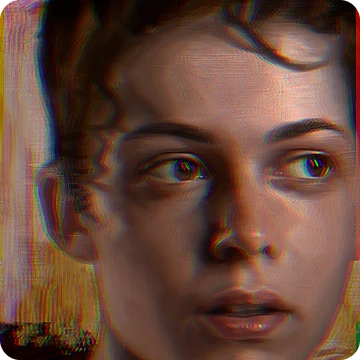
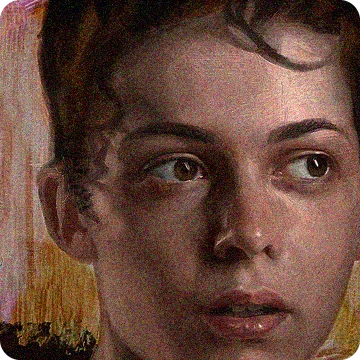
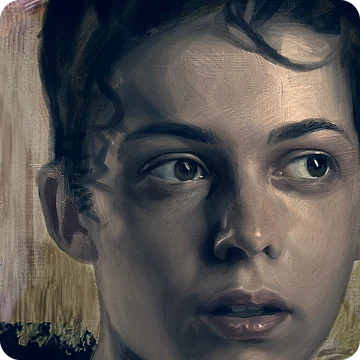
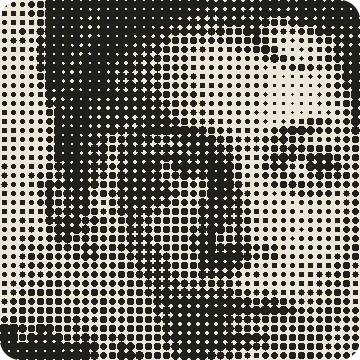
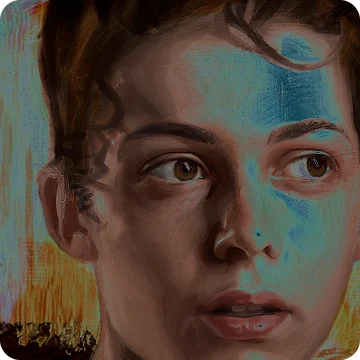
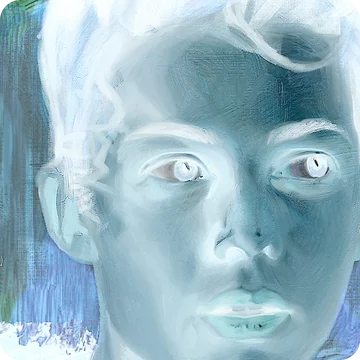
Twenty-seven adjustments. One test subject.
One crop of one study, run through every entry on the Adjustments menu with nothing else changed. Each applies as a non-destructive adjustment layer: reopen it, mask it or delete it, and the paint beneath is untouched.
Get Sable Paint
Two editions, one engine.
The free edition is the full painting engine: every brush and blend mode, no watermark, no account. It limits canvas size and layer count, and leaves filters, adjustments, text and crop to Studio, a one-time purchase.
Download
Free Edition
- The full painting engine: every brush, every blend mode, Stamp Forge
- Canvas up to 1024 × 1024 px
- 2 layers · 2 saved brush presets
- No account, no watermark
Version 1.0.10 · about 210 MB · release notes
Updates
One email per release, with the notes. Nothing else.
System requirements
A graphics card is required.
Every stroke is simulated on the GPU, so the graphics card matters more than the processor. Windows needs a dedicated card. macOS needs Apple Silicon.
Windows
- OSWindows 10 64-bit (version 1809 or later) or Windows 11 — x64 only, not ARM
- ProcessorAny 64-bit quad-core
- Memory8 GB RAM · 16 GB recommended
- GraphicsDedicated graphics card required, with 8 GB VRAM and DirectX 12 or Vulkan support — roughly NVIDIA RTX 2060 SUPER / AMD RX 5700 or newer. Integrated graphics (Intel UHD/Iris, AMD Radeon Graphics) is not supported.
- Storage1.5 GB available
- Display1280 × 800
- Pen tabletOptional. Any Wintab-compatible tablet; a mouse also works.
macOS
- OSmacOS 12 Monterey or later
- ProcessorApple Silicon, M1 or later — Intel Macs are not supported
- Memory8 GB unified memory · 16 GB recommended
- Storage1.5 GB available
- Display1280 × 800
For 4K canvases or several documents at once: 16 GB RAM.